

How To Create Resume Using Latex
Create your Professional/Educational resume using LaTeX
A resume can be considered your first impression in front of your employer. A resume is the most suitable means of announcing your claim that you are the perfect choice for the position to your prospects employer. In this tutorial, I would like to demonstrate the use of the LaTeX environment to create a well organized and professional resume for your future endeavors.
The primary motive behind a compellin g resume is to showcase your essential assets like your Qualifications, Experience, Achievements, Capabilities, and Qualities. Based on the typical mentality of hiring managers(employers), it has been observed that the employer takes just a few seconds to decide whether to call the person for the interview or not. As commonly experienced in the corporate world, the scenario, of a person with the necessary skills and appropriate experience not getting the interview call, is observed frequently. This is because the person applying for the job has failed to advertise himself clearly in the resume.
Hence, to prepare a compelling resume, a certain standard should be followed in the professional ecosystem. Following a predefined rule does not imply that a specific format should be followed in each application/resume. Each resume can be different from the another based on the applicant's way of representing himself/herself, to the employer. A resume is a way of portraying a professional/educational profile effectively to compel the scrutineer.
Using a general-purpose text editor like Microsoft Word or Google Docs can serve the preliminary purpose of maintaining draft copies of your resume. These editors maintain the "what you see is what you get" approach to format the work. However, it takes plenty of unnecessary efforts to follow a particular formatting/editing standard throughout the resume using such an editor. Due to such issues, it motivates me to introduce the LaTeX environment to the reader. LaTeX is a document preparation system used by academic and research communities for the publication of their work. Specifically, the writer uses markup tagging conventions to stylize text throughout a document, add citations and cross-references, and to define the structure of the document. LaTeX uses a TeX distribution such as TeX Live or MikTeX to produce an output file (PDF) suitable for printing or digital distribution.
Preparing a resume in LaTeX can decrease the overall complexity required for formatting the document; hence, it is utmost necessary for every professional to know the basic LaTeX syntax for resume building. In this tutorial, I would cover several aspects for creating a powerful and effective resume which would cover mostly each element of an application.
To begin with, each LaTeX file can contain a specific Style Class file commonly know as .cls which defines all the styling rules for the documents. This class file function similar to the CSS files in web designing. Multiple class files are readily available on the web for resume building, out of which I prefer the file provided by Trey Hunner for styling. This file is a simple yet effective way to represent your self. Download the class file from the link provided below:
ridhamdave/resume-latex/blob/master/resume.cls
Each LaTeX file start and ends as a "document" object. For demonstration:
          \documentclass{resume} % The style class
\begin{document}
.
.
.
\end{document}
Let's start creating the resume, where the first task is to provide the personal details on top of the page, which is also known as the Address section. This section will be present on top of the document containing detailed information regarding your name, address, phone number, and e-mail address. Here the provided class file defines certain tags(markups) for the title and other contact information. Add this line before the document beginning to reflect the introduction section.
          \name{John Snow} % Your name
\address{North of the Wall, Outside the reach of every kingdom}
\address{(+0)9999999999 \\ johnsnow@realnorth.com} 
The next section is the most important for every fresher coming out of a college, i.e., the educational background. This section must cover the degree perused, educational institute, its affiliated university, and the overall CGPA/marks. This class file provides a predefined "rSection" tag for differentiating each section of your resume. The curly braces for the part contain the section's name, and the entries between the \begin and \end represent actual content required.
Here, \bf represents Bold, while \em represents italics and \hfill command is used to provide appropriate formatting space between the right and side of the page. The Education section is as provided below, which is entered inside the actual document:
          \begin{rSection}{Education}          {\bf Massachusetts Institute of Technology, Cambridge} \hfill {\em July 2016 - May 2020}
\\ Bachelor of Engineering, Computer.\hfill { Overall CGPA: 9.05 }          \end{rSection}

The next section can be considered as a primary career goal professionally as well as personally. This section can be defined as "Career Objective" which is presented below:
          \begin{rSection}{Career Objective}
            To work for an organization which provides me the opportunity to improve my skills and knowledge to grow along with the organization objective.
\end{rSection} 
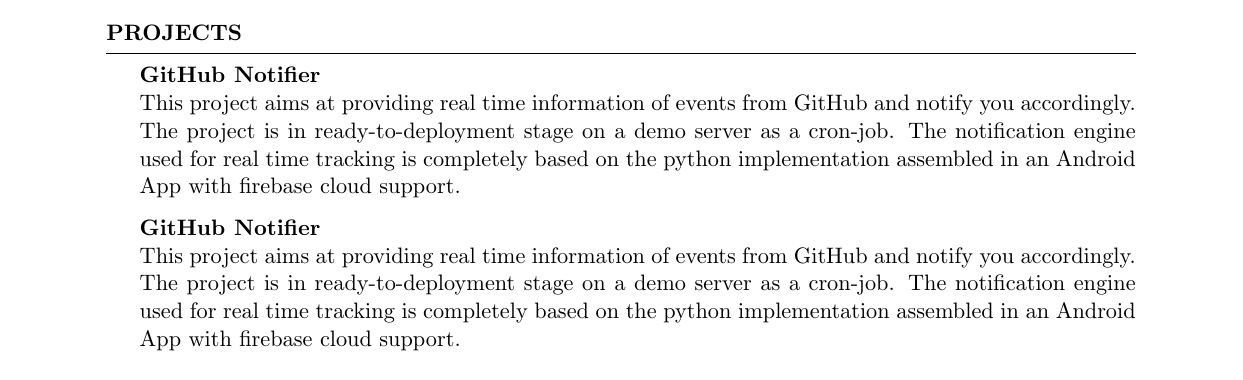
From an academic perspective, projects play a crucial role in learning practical skills. Hence I consider placing "Projects" section in this position of the document. This is an aspect which can be tinkered as personal preferences go. For this section, general convention goes as the project's name is provided in Bold styling, while the summary is presented from the next line in normal texts as described below. Here double slash(\\) represents new line. I have repeated the same project twice to demonstrate the exact spacing between projects.
          \begin{rSection}{Projects}          {\bf GitHub Notifier}
\\This project aims at providing real time information of events from GitHub and notify you accordingly. The project is in ready-to-deployment stage on a demo server as a cron-job. The notification engine  used for real time tracking is completely based on the python implementation assembled in an Android App with firebase cloud support.          {\bf GitHub Notifier}
\\This project aims at providing real time information of events from GitHub and notify you accordingly. The project is in ready-to-deployment stage on a demo server as a cron-job. The notification engine  used for real time tracking is completely based on the python implementation assembled in an Android App with firebase cloud support.          \end{rSection}
The next step in the resume is to demonstrate the skills and technical strengths you possess shortly and straightforwardly. Hence, a borderless table is mostly preferred for such visual aesthetics. A tabular section is used for creating table as shown below. An "&" operator is used for diversification of each column, and a "\\" operator is used for new line attachment.
          \begin{rSection}{Technical Strengths}          \begin{tabular}{ @{} >{\bfseries}l @{\hspace{6ex}} l }
Languages \ & C, C++, Python, Java, C\#  \\
Technologies & MVC, HTML5, CSS, Latex\\
Tools & MikTex, Kile, Netbeans \\
Databases & MySql, Oracle, Sqlite, NoSql\\
Cloud Technologies & Firebase, AWS, Google Cloud\\
Version Control & Github
\end{tabular}          \end{rSection}

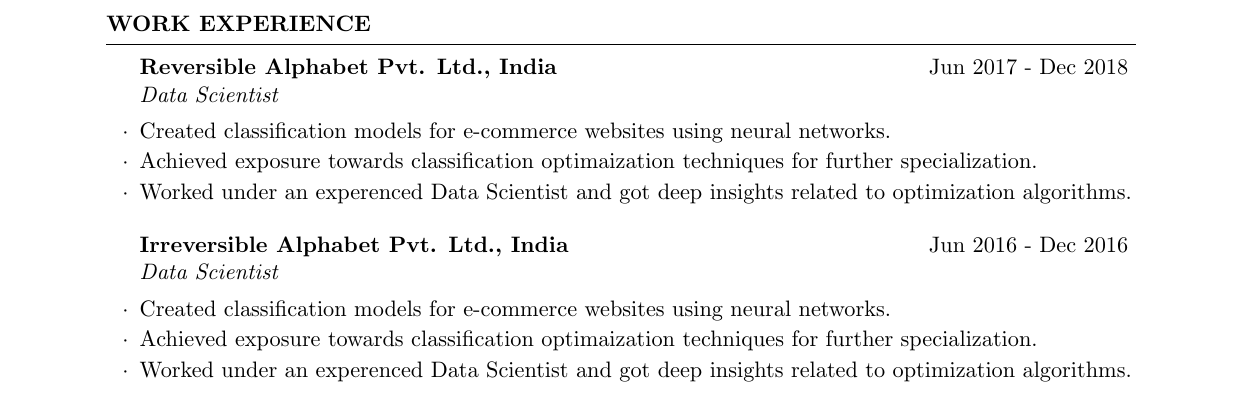
The next section is considered as one of the most import aspects of your profile, which is the "Work Experience" section. This section needs to describe in brief the contribution you presented to the company in which you previously worked. In the case of an internship, the person should mention the same and accordingly summarize the role in the company. The class file provides a "rSubsection" template for such entries which can require multiple tags to represent the employee designation, company's name, work duration, etc.. A section would contain a subsection for each entry of work profiling as shown below. Here each summary point is declared with a \item tag for equal spacing and design.
          \begin{rSection}{Work Experience}
\begin{rSubsection}{Reversible Alphabet Pvt. Ltd., India}{Jun 2017 - Dec 2018}{Data Scientist}{}
            \item Created classification models for e-commerce websites using neural networks.
            \item Achieved exposure towards classification optimaization techniques for further specialization.
            \item Worked under an experenced Data Scientist and got deep insights related to optimization algorithms.
\end{rSubsection}
\begin{rSubsection}{Irreversible Alphabet Pvt. Ltd., India}{Jun 2016 - Dec 2016}{Data Scientist}{}
            \item Created classification models for e-commerce websites using neural networks.
            \item Achieved exposure towards classification optimaization techniques for further specialization.
            \item Worked under an experenced Data Scientist and got deep insights related to optimization algorithms.
\end{rSubsection}          \end{rSection}
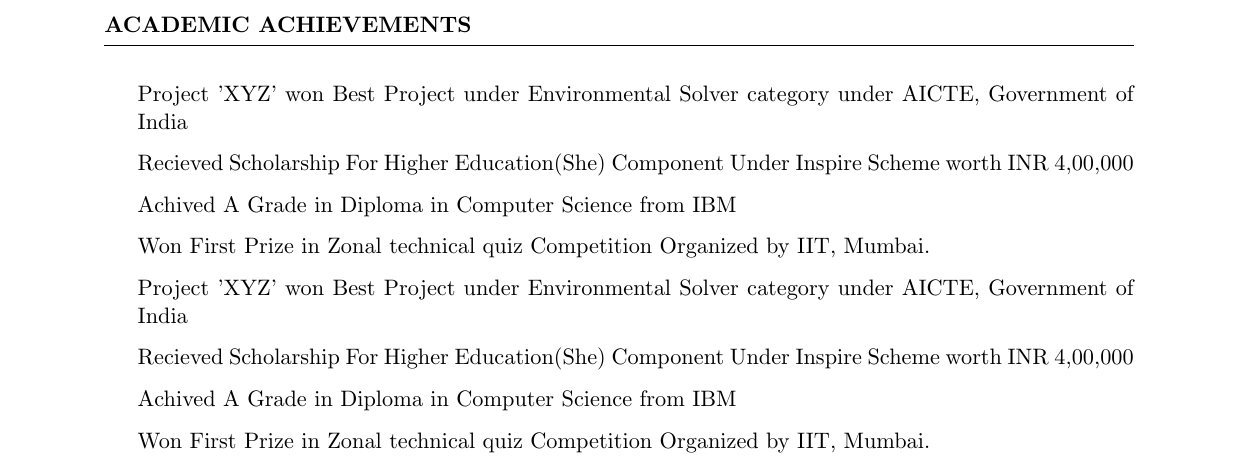
Similarly, the sections as academic achievements, Extracurricular Activities, and Research Profile can be added in the following manner. Each section can be added just as given below as an example:
          \begin{rSection}{Academic Achievements}
\item Project 'XYZ' won Best Project under Environmental Solver category under AICTE, Government of India
\item Recieved Scholarship For Higher Education(She) Component Under Inspire Scheme worth INR 4,00,000
\item Achived A Grade in Diploma in Computer Science from IBM
\item Won First Prize in Zonal technical quiz Competition Organized by IIT, Mumbai.
\end{rSection}
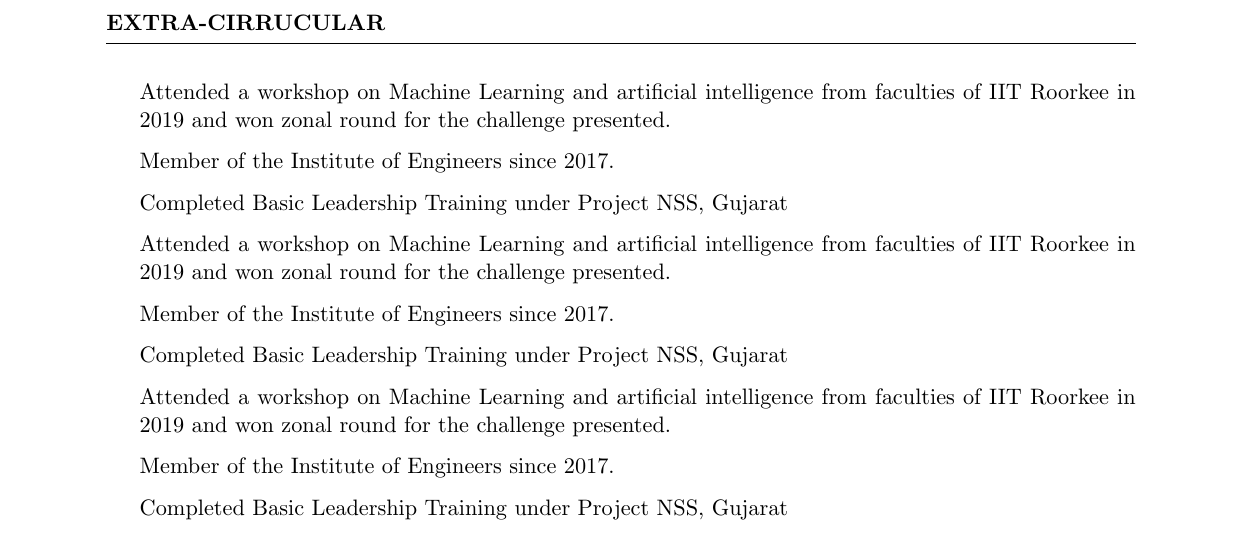
          \begin{rSection}{Extra-Cirrucular}
\item Attended a workshop on Machine Learning and artificial intelligence from faculties of IIT Roorkee in 2019 and won zonal round for the challenge presented.
\item Member of the  Institute of Engineers since 2017.
\item Completed Basic Leadership Training under Project NSS, Gujarat
\item Attended a workshop on Machine Learning and artificial intelligence from faculties of IIT Roorkee in 2019 and won zonal round for the challenge presented.
\item Member of the  Institute of Engineers since 2017.
\item Completed Basic Leadership Training under Project NSS, Gujarat
\item Attended a workshop on Machine Learning and artificial intelligence from faculties of IIT Roorkee in 2019 and won zonal round for the challenge presented.
\item Member of the  Institute of Engineers since 2017.
\item Completed Basic Leadership Training under Project NSS, Gujarat          \end{rSection}
Similarly, the research section needs to be on the presented with the papers adequately documented and cited, for example(With Journal/conference name):
          \begin{rSection}{Research Profile}
            \item Student President, Technology and Research, IIT Gandhinagar
            \item Publication : ABC, IOT IEEE Transactions (Impact Factor: 9.3, Status: Published)
            \item Student President, Technology and Research, IIT Gandhinagar
            \item Publication : ABC, IOT IEEE Transactions (Impact Factor: 9.3, Status: Published)
            \item Student President, Technology and Research, IIT Gandhinagar
            \item Publication : ABC, IOT IEEE Transactions (Impact Factor: 9.3, Status: Published)
\end{rSection} 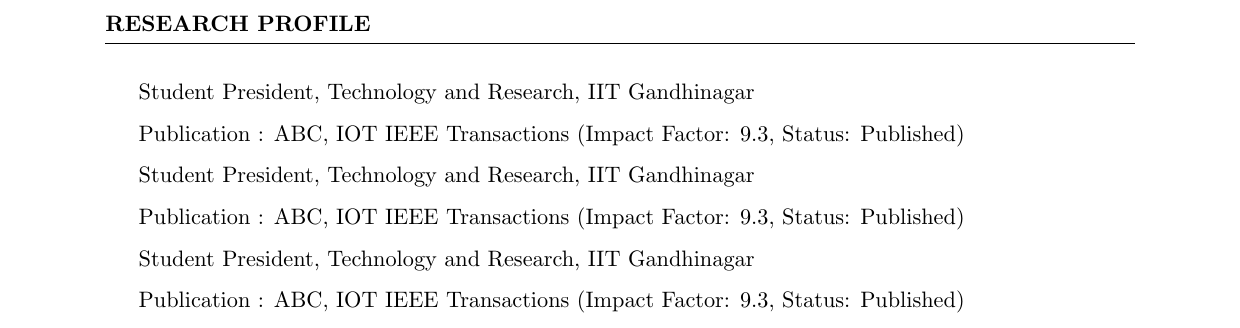
Finally, after the addition of all the aspects of the profile, final proofreading of the document is required and a final draft needs to be prepared. It should be a general practice to let some colleague rectify the mistakes or ambiguities if any.
Resume building is an iterative task, which required constant tuning and twerking, which can only be achieved by adequate efforts. All the LaTeX code for the resume is provided in the GitHub link below.
https://github.com/ridhamdave/resume-latex/blob/master/resume.tex
The final PDF can be seen as follows:
To conclude, you now have a great resume in your hand, which needs to be updated regularly in order to make it better. Just two words should always be kept in mind for resume building which are:
Precise and Concise
Hope you learned new techniques for efficient resume construction and are more familiar with the LaTeX environment for such professional tasks.
Thank you for your attention.
Also follow me on LinkedIn for networking.
How To Create Resume Using Latex
Source: https://towardsdatascience.com/create-your-professional-educational-resume-using-latex-7bc371f201e3
Posted by: goddardpaptur.blogspot.com
0 Response to "How To Create Resume Using Latex"
Post a Comment